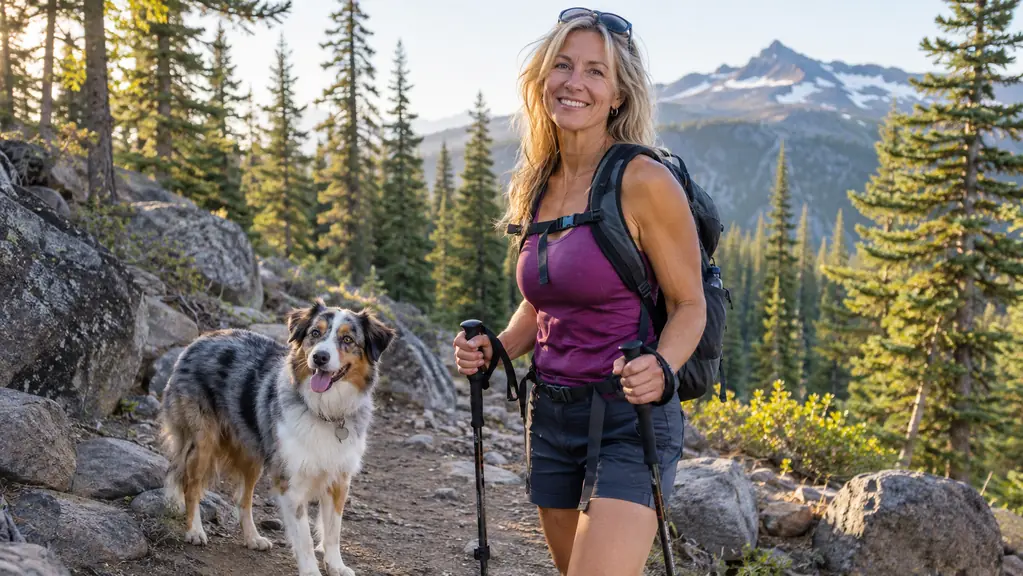
The first time I put trail shoes on Moss, he walked like the ground had turned to hot pavement. High steps, stiff legs, a look over his shoulder that said I had lost my mind. Moss is 6, a 46 pound red merle Australian shepherd mix with a natural tail, about 21 inches at the shoulder. He came home from a rescue at age 2, so we have hiked the Cascade trails near Bend together for about four years. The shoes were new. He was not.
The trouble with dog shoes is rarely the shoe itself. It is the fit, the order you do things, and the first quarter mile. A closure that is not snug will let a boot twist. A dog who is rushed will brace and fight you. And a package of two boots only covers half a dog. I learned that last part in the listing for the Ruffwear Grip Trex, which is sold as a pair of two. I bought two pairs so Moss had all four paws covered. That was 18 months ago, and the shoes are still the newest piece of gear in our rotation. These are the notes I would give a friend at the trailhead.
Four Paws, Not Two
The Grip Trex listing is a pair of two boots, so plan on two pairs for a four paw dog. Measure a standing paw first, then order.
Amazon See the Grip Trex on Amazon →Step 1: Measure a Standing Paw, Then Buy Two Pairs
Measure while the dog is standing on a hard floor. A paw spreads under weight, and a measurement taken while he is curled up on the couch will be too small. I put a sheet of paper under one front paw, marked the widest point and the longest point, and did the same on a back paw. Moss came out at the 2.50 in size. The Grip Trex listing gives 2.50 in, and that is the size he wears.
My first measurement was wrong. I wrapped a soft tape around the paw while Moss was lying on the kitchen floor with his legs tucked, and the number I got was too small. A tape follows the curve of a curled paw, and a curled paw is not a walking paw. The paper fixed it. I set the sheet down, had him stand square on it, and marked the widest point across the pads and the longest point from the back of the heel to the front of the middle nail. If your first number and your second number disagree, trust the one you took standing.
The listing is clear about one thing that is easy to miss: it is sold in pairs, not as a set of four. Two boots in the box. If your dog is going to wear shoes on all four paws, order two pairs at once. I did, because a single pair would have left me choosing which two paws got protection. That is not a choice I wanted to make on a lava rock trail.
Fit is the whole game. The product page says a proper fit means more comfort, control, and confidence on every adventure, and that matches what I have seen. A shoe that is too big will slide. A shoe that is too small will pinch. The 2.50 in size is not a guess for Moss. It is the number I measured, and it has held for 18 months of Saturdays.
Step 2: Practice at Home Before the Trailhead
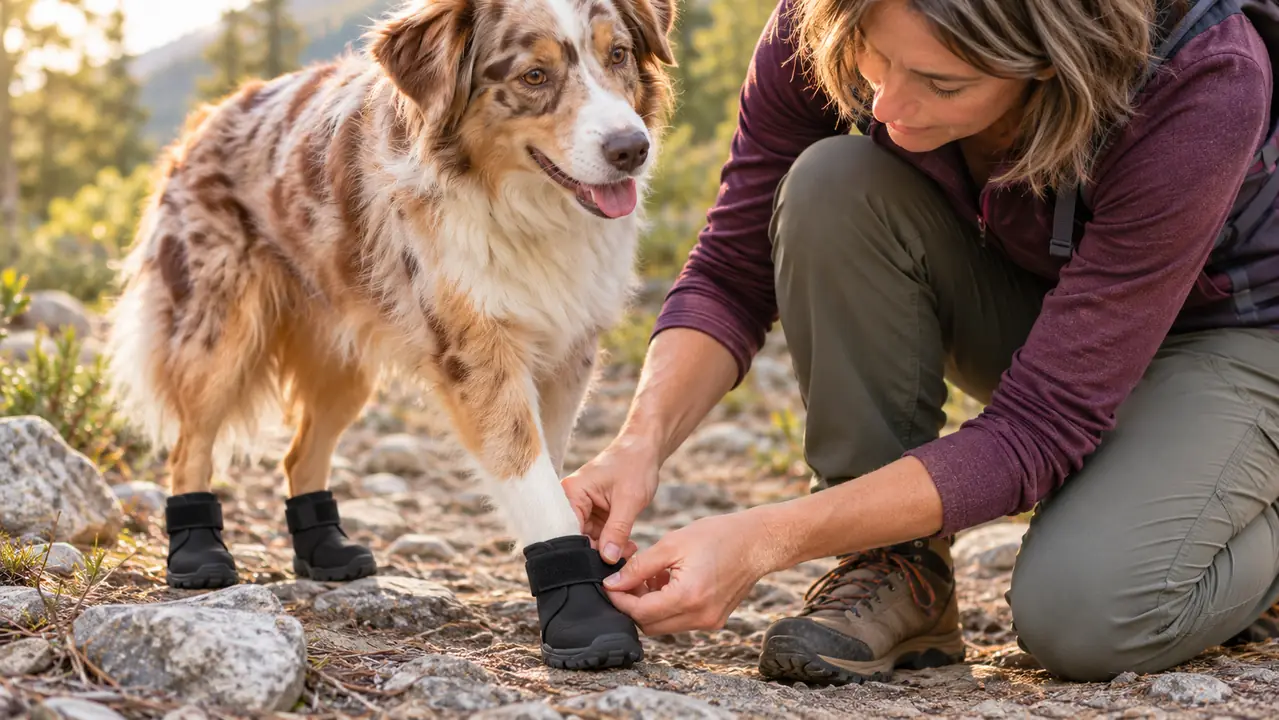
Put the shoes on at home before you put them on at a trailhead. The first time Moss wore his, he high stepped around the back yard like the grass was unfamiliar. That is normal. He did it for about three short sessions, maybe five minutes each, and then he walked normally. I did not make a project of it. I just put them on, let him move, and took them off before he got fussy.
Pick a time when your dog is already going to move, like before a meal or before a short walk around the block. Put one shoe on, reward, then the next. Do not hold a paw in the air while you fight with a closure. If the dog pulls a paw back, stop, reset, and try again. The goal is a dog who stands still for the routine, not a dog who loves the shoes on day one.
Our third session was the one that told me he would be fine with it. I put all four on in the driveway, and instead of standing there watching him, I walked toward the mailbox. He followed. About forty feet in, the high stepping stopped and he was just walking. I turned around, took them off, and put them away. Short and boring beats long and dramatic. If your dog lies down and refuses to move, that is not a failure. Take a shoe off, let him walk, and try again the next day with fewer shoes and more treats.
Check the hook and loop closure after each practice. A strap that felt snug in the kitchen can loosen after a few steps in the yard. If a shoe twists in the yard, it will twist on the trail. Fix it at home where you have treats, shade, and no one waiting behind you.
Step 3: Put Each Shoe On in the Same Order
I put Moss's shoes on in the same order every time: front left, front right, back left, back right. The order is not magic. It is just a routine, and a routine keeps me from skipping a paw. Loosen the hook and loop closure before you slide the paw in. If the opening is tight, the paw will catch and the dog will pull back.
Set the paw flat on the sole. The upper is ripstop, and it should sit smooth over the top of the paw, not bunched to one side. Press the closure down from the top of the paw toward the outside. Snug is the goal, not tight. I can slide a finger under the closure on Moss, but I cannot pull the shoe off over his heel without opening it. That is the test I use.
Do the front paws first because they are easier to see. Then the back. Stand up and watch the dog walk a few steps before you do anything else. If a back shoe is twisted, the dog will often sit down or lift the paw. If a front shoe is twisted, he may high step or stop. Those are fit signals, not drama.
Step 4: Check All Four at the First Quarter Mile
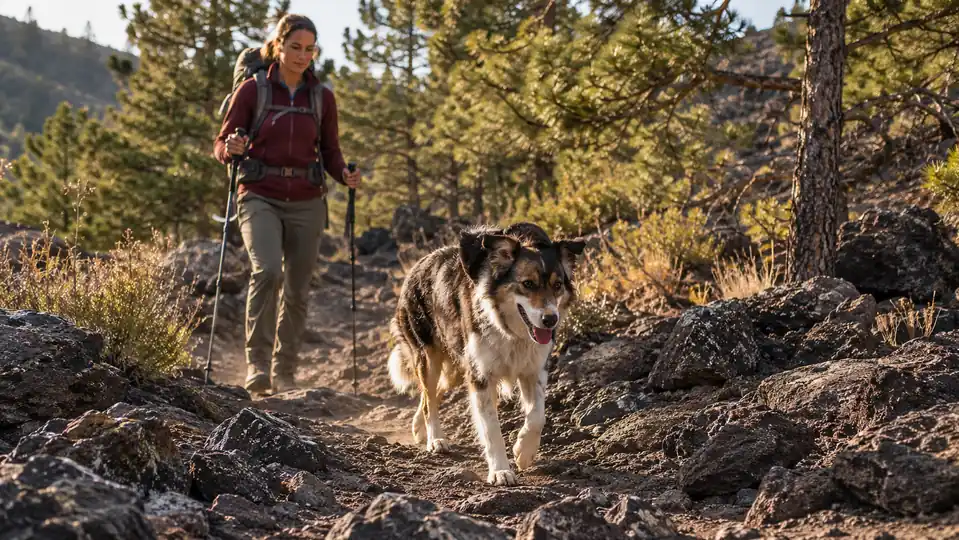
The first quarter mile is the fit check. Stop once, kneel down, and look at all four shoes. Check that each one is sitting straight, that the closure is still snug, and that the paw is not pushed against the front of the boot. I do this at the first flat spot, before the trail gets rough. It takes two minutes and saves a lot of stopping later.
On a lava rock trail east of town, this check has caught the same twisted back shoe twice. Back right, both times, and both times the dog told me before I saw it. He slowed down and started placing that foot carefully. I reset the shoe, snugged the closure, and he picked the pace back up. I do not think he was being dramatic. I think the shoe was sitting wrong and he was working around it. That is the whole reason to stop early instead of waiting for the turn around point.
Watch the dog, not the shoes. If he lifts a paw, sits, or starts walking with a stiff leg, check that shoe. On a hot day, the shoes are warm. I take them off at a water break if we are on a shaded dirt stretch and put them back on before the rock. That is not a rule from a vet. It is just what has worked for us.
If a closure has loosened, reset the whole shoe rather than trying to tighten it while the paw is half in. Take it off, set the paw flat, and press the closure again. A quick fix on the trail can leave the upper bunched. A proper reset takes a few seconds longer and lasts.
Step 5: Keep Them On With a Trail Routine
These are not every hike shoes for Moss. He wears the Grip Trex on rough lava rock, on hot exposed rock in summer, and on packed icy snow. On soft dirt trails, he goes bare paw. That is the routine, and it has kept the shoes from becoming a thing he dreads. The rubber sole is the part that matters on sharp rock. The ripstop upper is the part that handles snow, salt, and moisture.
In winter, the shoes come out for packed snow on the snowshoe outings. The ripstop upper keeps snow from balling up against the paw the way it does on a bare foot, and the rubber sole bites into the crust. I still check the fit more often in the cold, because cold fingers make me rush a closure. On those days I put the shoes on inside the car with the heat running, then do the quarter mile check at the trailhead sign. It is a small habit that has kept a loose strap from turning into a lost boot.
After the hike, rinse the shoes and let them dry by the door. The product care says hand wash only. I do not put them in the washing machine, and I do not leave them in a hot car. Grit works into the hook and loop closure, so I pick that out with my fingers before I hang them up. The pair that is not on his paws is not a spare. All four are in use.
Because the listing is two boots, I bought two pairs at the same time. That is the single most useful thing I can tell you. If you order one pair, you will have to decide which two paws get shoes. If you order two pairs, you have a full set. None of Moss's shoes has been lost. That is not luck. It is the closure being checked at the first quarter mile and again at every water break.
What Else Helps
The shoes are one part of a system. Moss wears his Ruffwear Front Range Harness on shorter hikes and snowshoe days. On longer hikes, he wears the Ruffwear Front Range Day Pack instead, and the leash clips to the pack's own leash point. The point is that the shoes are not asked to do the job of keeping the dog with me. The harness and the pack do that job.
Water matters more than any piece of gear. I clip the Kurgo Zippy Bowl to the outside of whatever pack is in use and fill it about a third of the way at each stop. On hot days, I stop more often, not less. The bowl is light and it packs flat, which is why it comes on every hike. Moss drinks from it without a fuss.
At each water break, I look at all four paws. I check that no grit is trapped inside a shoe and that the closure has not picked up a burr. I also check his pads when the shoes come off. If a paw looks sore, we turn around. That is not a medical judgment. It is just a weekend hiker knowing when to call it.
Moss high stepped around the back yard for three short sessions. Then he walked normally. That was the whole training curve.
The Shoe That Stays On Is the One You Fit First
Start with a standing paw measurement and two pairs, then check all four at the first quarter mile. That is the routine that has worked for us.
Amazon See the Grip Trex on Amazon →